Preparing Walls for Large-Format Tiles in Kitchens: Why Flatness Matters Before a Single Tile Goes Down
Planning large-format kitchen tiles in South Yorkshire? We explain exactly how to prep walls properly so your tiles stay flat, level and secure for years.

Why Wall Prep Is the Most Important Part of Large-Format Kitchen Tiling
Large-format tiles are unforgiving. A 1200 x 600 porcelain tile will show every bump, hollow and twist in the wall behind it. Get the prep right and the finished result looks genuinely impressive. Rush it, and you end up with lippage (where tile edges sit at different heights), cracked adhesive, and tiles that eventually work loose.
We fit large-format tiles across Barnsley, Sheffield, Rotherham, Wombwell, Hoyland and the surrounding areas, and the one thing we see go wrong most often on kitchen tiling jobs is this: someone has tried to tile straight onto a wall that was never flat enough to begin with. This article explains exactly what proper wall preparation looks like, and why it matters so much when you go above 600mm on either dimension.
What "Flat" Actually Means for Large-Format Tiles
The British Standard for tiling (BS 5385) specifies that walls should have no more than 3mm deviation over a 2-metre straight edge before tiling begins. For standard 300 x 300 tiles, small humps and hollows are less critical because the tile bridges them. For a 1200 x 600 tile, that same deviation becomes a pivot point. The tile rocks. The adhesive contact is uneven. The tile can crack under load or thermal movement.
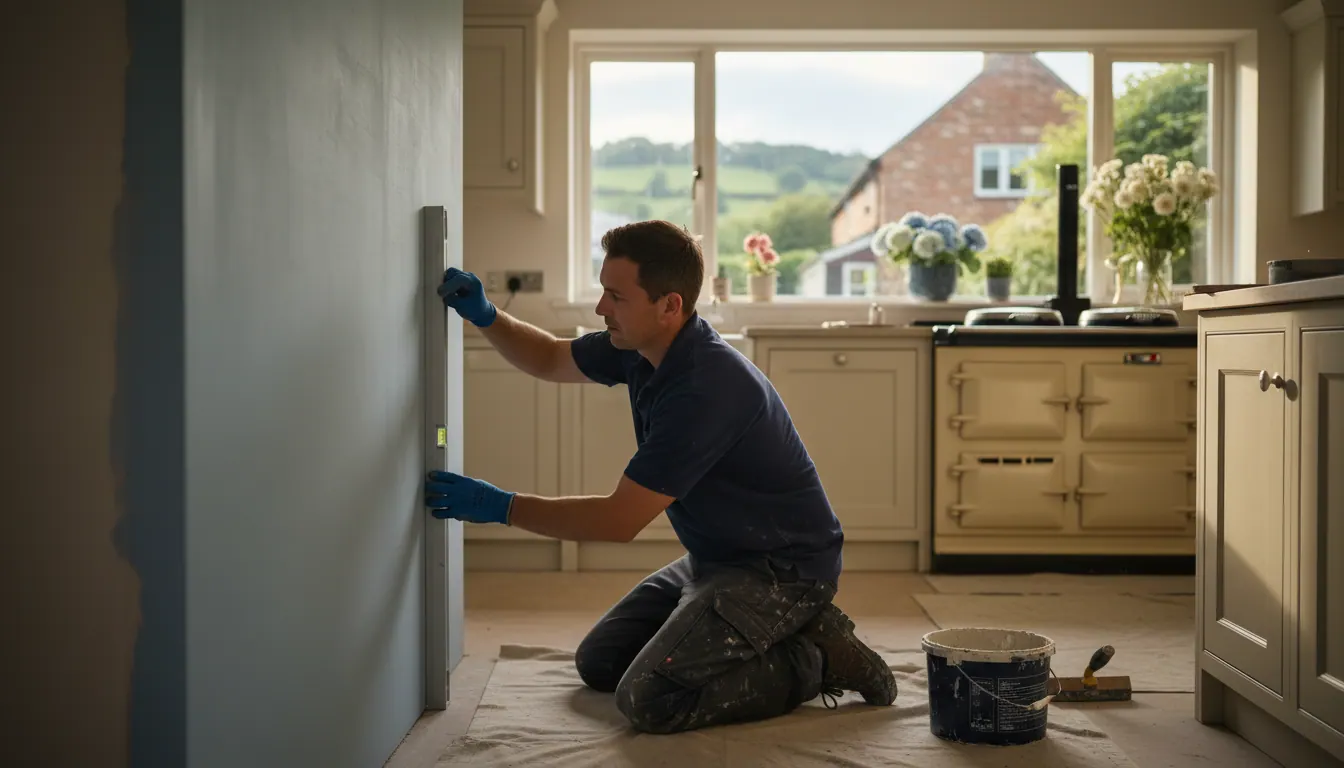
So before we ever open a bag of adhesive, we check the wall with a long straight edge and mark every high and low spot. In older South Yorkshire homes, particularly the Victorian and Edwardian terraces you find across Barnsley and Sheffield, walls are rarely flat. They move, they bulge, and the plaster that's been on them for a century has often settled unevenly.
The Surfaces We Work With (and What Each One Needs)
Existing plasterwork
Old plaster needs to be checked for soundness before anything else. Tap it. A hollow sound means the plaster has blown away from the substrate behind it. Tiling over blown plaster is a waste of time and money. It will come off the wall, and it will take your tiles with it.
Solid old plaster that is out of flat needs to be built back up with a bonding coat, then skimmed level. We never just skim over a large deviation and hope for the best. The skim coat needs to be genuinely flat and fully cured before tiling starts.
Fresh plaster is a different problem. New skim needs to be fully dry before you tile onto it. Pale grey means it is still wet. You are waiting for it to go a consistent light cream or off-white right the way across. Tiling onto green (wet) plaster traps moisture, weakens the bond, and causes the plaster to fail over time. In a kitchen, where steam and condensation are part of daily life, this matters even more.
For more on why timing is critical when working with new plaster, our article on painting fresh plaster in bathrooms across South Yorkshire covers the same drying principles, just applied to paint rather than tiles.
Plasterboard
New plasterboard is common on kitchen refits where we have stripped back to the studs or removed an old tiled surface. Plasterboard gives a consistent, flat surface, which is one reason we often prefer to re-board rather than try to rescue a badly damaged plaster wall.
For large-format tiles on plasterboard, the board needs to be correctly fixed with no movement, no flex, and no gaps at the joints. We use a suitable primer (a diluted PVA or a dedicated tile primer) before applying adhesive. Skipping the primer on plasterboard means the board face absorbs moisture from the adhesive too quickly, weakening the bond before it has set.
Previously tiled surfaces
Tiling over old tiles is sometimes done, but it is rarely the right answer for large-format work. The existing tiles add weight and, unless they are perfectly flat and fully bonded, you are building on an unstable base. On a kitchen wall, we will usually remove old tiles, check what is underneath, and make a proper decision from there.
Choosing the Right Adhesive for Large-Format Kitchen Tiles
Adhesive choice is not optional. A 1200 x 600 porcelain tile is heavy, and the adhesive has to hold it on a vertical surface while also accommodating the slight movement that happens in any building over time.
For large-format tiles we use a C2 S1 rated adhesive as a minimum. The C2 rating means it is a high-performance, improved adhesive with higher bond strength. The S1 rating means it has some flexibility built in, which is important because porcelain and the substrate behind it expand and contract at slightly different rates. Without that flexibility, the bond can shear over time, particularly in a kitchen where temperature changes are frequent.
Some adhesives are specifically formulated for large-format work, with anti-slump properties that stop heavy tiles from creeping down the wall before the adhesive sets. This matters a lot when you are working at height or on full-height splashbacks. Mapei produce well-regarded options in this category, and there are others. What matters is matching the adhesive to the tile weight, format and substrate. We specify this on every job.
Bed thickness also matters. Large-format tiles need a full, even bed of adhesive. Back-buttering (applying a thin layer of adhesive to the back of the tile as well as the wall) ensures full contact and eliminates voids. Voids mean the tile has unsupported areas, which crack under point loading.
Layout and Setting Out
Before a single tile goes up, we set out the layout on paper and then on the wall. This is especially important in kitchens because you have cabinets, windows, sockets and worktops all interrupting the tile run. A poor set-out leaves you with a tiny sliver of tile in a prominent corner, or a grout line that falls awkwardly across a socket.
We work from the centre of the most visible wall outward, and we account for the position of the units so that cut tiles land in less visible spots. With large-format tiles, a cut that is less than a third of the tile width looks wrong and is harder to execute cleanly without chipping the porcelain. Good set-out prevents this.
On the question of staggering: large-format wall tiles are generally laid with a stagger of no more than one-third of the tile length rather than the traditional half-bond offset. A 50% offset on a long, large tile creates a lot of lippage risk because the unsupported mid-point of each tile is more likely to sit slightly proud. A one-third offset keeps more of each tile over a supported area.
What Good Work Looks Like: A Customer's View
Allan Woodcock left us this review after his kitchen fit:
Love my new kitchen! The guys were very professional and did a fantastic job. Well worth the money. Would highly recommend these guys.
That kind of outcome starts long before the tiles go up. The professional finish Allan noticed comes from the prep work that happens first: flat walls, correct adhesive, proper set-out. The tiling itself, when the groundwork is right, goes on cleanly and stays that way.
The Finish: Grouting and Edge Details
Grout choice for large-format porcelain in a kitchen should be a flexible, stain-resistant grout. Kitchens generate grease and steam, and a standard rigid grout will crack at the joints over time as the building moves fractionally.
Movement joints (silicone rather than grout) are required at all internal corners and at the junction between the tiled wall and the worktop. This is not optional. Grouting an internal corner locks two planes together rigidly, and when the building moves (even slightly), something has to give. Usually it is the grout, and sometimes it is the tile. Silicone at these junctions absorbs the movement.
For a clean, professional edge where tiles meet an untiled surface, mitred corners give a sharp finish without the need for a plastic trim strip. We cover this in detail in our article on mitred tile corners in bathrooms and kitchens across Barnsley and Sheffield.
Frequently Asked Questions
How do I prep a wall for large-format kitchen tiles? Check the wall is structurally sound, flat to within 3mm over 2 metres, and fully dry. Old plaster that has blown needs to come off. New plaster needs to be fully cured. Plasterboard needs to be primed. Any high spots need to be ground back; low spots need to be built up with a suitable filler or bonding coat. Only once the wall is flat, sound and dry should you start tiling.
Do large-format tiles need to be staggered differently to standard tiles? Yes. With large-format tiles (anything over 600mm in length), a traditional 50% offset stagger creates too much unsupported tile span and increases the risk of lippage. We use a maximum one-third offset, which keeps more of each tile bearing on adhesive and reduces the chance of edges sitting proud.
What adhesive should I use for 1200 x 600 tiles on a kitchen wall? A C2 S1 rated flexible adhesive is the minimum for large-format porcelain on a wall. It needs to have sufficient open time to allow you to position heavy tiles accurately, and anti-slump properties to stop tiles creeping before the adhesive sets. We specify the adhesive based on the tile weight and the substrate on every job.
Can you tile over old kitchen tiles? Sometimes, but not usually for large-format work. The extra weight, combined with any unevenness in the existing tiles, makes it a risky base. We prefer to strip back, check the substrate, and start from a known flat surface. It takes longer, but the result lasts.
Get in Touch About Your Kitchen Tiling in South Yorkshire
If you are planning a kitchen refit in Barnsley, Sheffield, Rotherham, Hoyland, Penistone, Dodworth, Darfield, Wombwell or anywhere across South Yorkshire, we are happy to come and take a look. We offer free quotes and free advice, and we will tell you honestly what the wall prep needs before a tile goes anywhere near it.
Between us, Paul and Malcolm bring over 60 years of experience in the building trade. We turn up, do it properly, and clean up after ourselves.