Skimming Artex Ceilings in Kitchens Across South Yorkshire: Why Flat Is Better Than Textured (and Easier to Clean)
Got an Artex ceiling in your kitchen? We explain why skimming it flat is the right move for South Yorkshire homeowners and what the job actually involves.

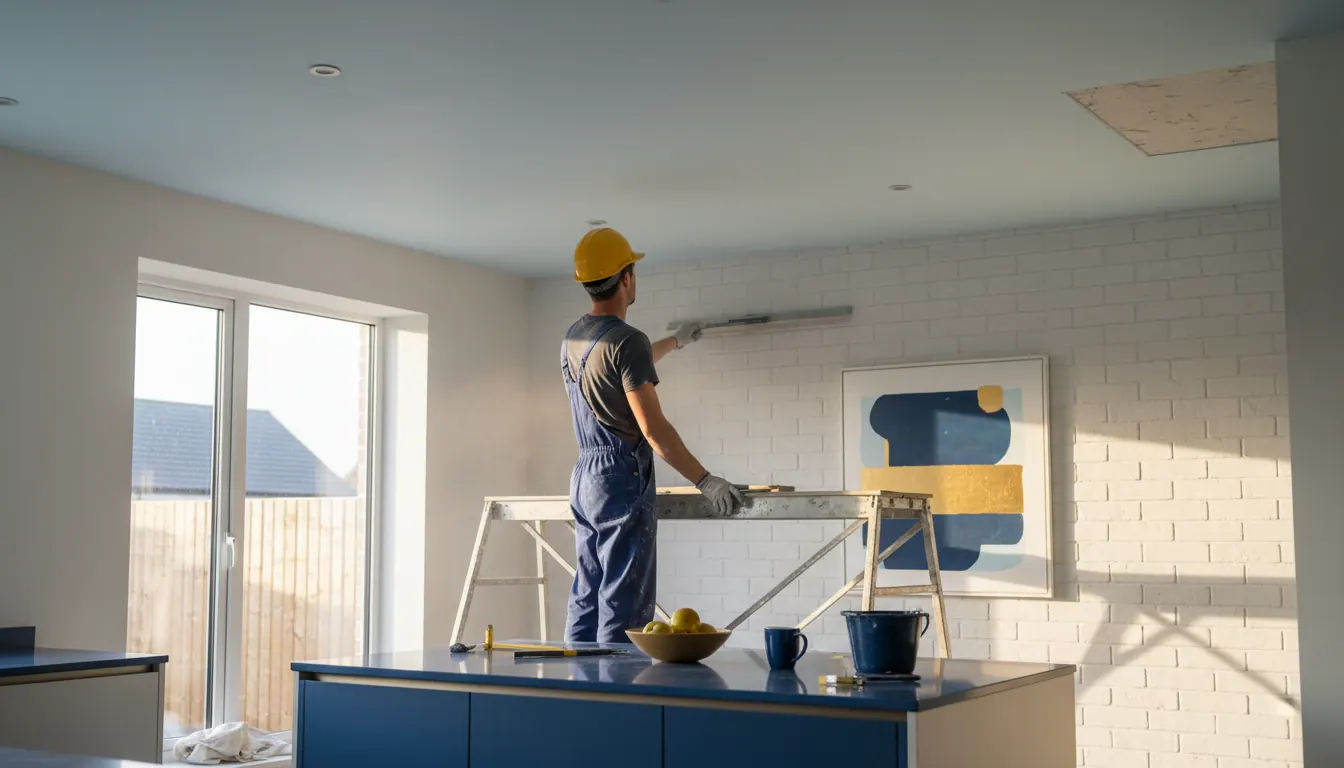
That Textured Kitchen Ceiling Is Probably the Last Thing You Think About
Most kitchen renovations in South Yorkshire start with units, worktops and tiles. The ceiling? It barely gets a mention until someone stands back and realises the Artex swirls from 1987 are still up there, staring down at a brand-new kitchen. It looks wrong. It collects grease. And it makes even a freshly decorated room feel unfinished.
Skimming an Artex ceiling flat is one of those jobs that quietly transforms a space. It is not dramatic. Nobody photographs a ceiling for Instagram. But get it done properly and every other finish in the room looks sharper, cleaner and more intentional.
We do a lot of this work across Barnsley, Sheffield, Rotherham, Hoyland, Wombwell and the surrounding villages. Here is what the job actually involves, what can go wrong and why it is worth doing before you fit anything else.
Can an Artex Ceiling Be Skimmed?
Yes, in almost every case. The short answer is that most Artex ceilings in South Yorkshire homes can be skimmed over with a thin coat of finishing plaster. The result is a smooth, flat surface ready for mist coat, paint or whatever finish you have chosen.
The process works like this:
- The Artex surface is stabilised and primed so the skim coat bonds properly.
- A bonding agent (PVA or a specialist primer) is applied and allowed to go tacky.
- A scratch coat may be needed on heavily textured ceilings to bring the surface closer to flat before the finishing skim goes on.
- The finishing skim is applied in one or two coats, floated and polished to a smooth, even surface.
- Once dry, the ceiling is ready to mist coat and paint.
The key word in that list is "stabilised". Old Artex that is flaking, bubbling or has been painted over multiple times with thick emulsion can cause adhesion problems. We check this before we start. If the surface is not sound, we deal with it before any skim goes on, not after.
One thing worth knowing: Artex applied before the mid-1980s may contain a small amount of chrysotile asbestos. This does not mean the ceiling is dangerous to live under, but it does mean you should not sand or aggressively abrade it before getting it tested. Skimming over intact Artex encapsulates it safely. If you are unsure about the age of your ceiling, we can advise you on the sensible next steps before we touch it.
For a broader look at why skimming flat is almost always the better choice over leaving texture in place, we wrote about this in detail here: Plastering Over Artex in Sheffield: Why Skimming Flat Is Better Than Leaving It Textured.
Why the Kitchen Ceiling Matters More Than You Think
Kitchens are greasy environments. Steam, cooking fats and airborne particles settle on every surface, including the ceiling. A textured Artex finish traps all of that. Flat, smooth plaster is far easier to wipe down and repaint when it needs freshening up.
There is also a practical reason to do the ceiling before anything else goes in. Plastering is a wet, messy trade. Finishing plaster needs to be applied quickly, floated and polished before it sets, and the process involves water, splashes and dust from sanding back any imperfections. You do not want that happening over new units, a fresh worktop or a tiled splashback.
The correct sequence for a kitchen renovation is always:
- Strip out the old kitchen.
- First-fix electrics and plumbing (moving sockets, adding circuits, repositioning supply pipes).
- Plastering and ceiling work, including any Artex skimming.
- Allow the plaster to dry fully before painting.
- Fit the new kitchen.
- Second-fix electrics and plumbing.
- Tiling, decorating and snagging.
Skimming the ceiling at stage three means the plasterer has a clear, empty room to work in. It also means the new kitchen never gets plaster dust or wet splashes on it. This is basic trade sequencing, but it is surprising how often homeowners are tempted to fit the kitchen first and "just get the ceiling done afterwards". It never ends well.
If you want to understand more about how electrics and plumbing need to be coordinated before a kitchen fitter arrives, this article covers it well: Kitchen Electrics and First-Fix Plumbing in Hoyland: Why Your Electrician and Plumber Must Work Before the Fitter Arrives.
What About Lowering the Ceiling or Adding Spotlights?
A lot of homeowners across South Yorkshire use a kitchen renovation as the chance to add recessed spotlights. In older properties, particularly the semi-detached and terraced housing stock common in Barnsley, Rotherham and Penistone, the original ceiling heights are often generous enough to allow a small drop without the room feeling low.
If you want spotlights, the sequence changes slightly. The ceiling void needs to be accessible for the electrician to run cables before anything is boarded and skimmed. That means the electrical first fix and the plastering work need to be coordinated carefully. We work alongside electricians regularly and can help you plan this so nobody is waiting on anyone else.
If the existing ceiling is in poor condition, cracked or uneven, boarding over it with plasterboard and then skimming gives a far better base than trying to skim directly onto a compromised surface. It also gives you a clean, insulated void for recessed lights.
What the Work Actually Looks Like Day to Day
For a standard kitchen ceiling in a South Yorkshire semi or terrace, the plastering work itself is typically a one to two day job, depending on the size of the room and the condition of the existing surface.
Day one: preparation, priming, any scratch coat on heavily textured areas, first skim coat. Day two: final skim coat, floating and polishing to a smooth finish.
After that, the plaster needs to dry out fully before it is painted. Fresh plaster is alkaline and porous. Paint it too soon and you will get peeling, uneven absorption and a finish that does not last. A mist coat of heavily diluted emulsion goes on first to seal the surface. Then one or two full coats of your chosen ceiling paint.
How long does drying take? It depends on the thickness of the plaster, the temperature and the ventilation in the room. A kitchen ceiling in a well-ventilated house in summer can be ready to mist coat within a few days. In winter, or in a room with poor airflow, it can take longer. We always tell customers honestly where they are in that process rather than rushing ahead.
What Sandra Said
Sandra Hirst left us this review after her work was completed:
Great work from P&M Home Improvements, very professional, friendly and thorough, would recommend for any home improvement
That word "thorough" is one we hear fairly often, and it matters to us. Plastering is a trade where the preparation is everything. A ceiling that looks perfect on the day but starts cracking or delaminating six months later was not prepared properly. We take the time to do it right.
Can I Skim My Own Ceiling?
Technically, yes. Practically, it is one of the hardest plastering tasks there is. Finishing plaster sets quickly, and working overhead on a ceiling while keeping a wet, heavy material flat and even is genuinely skilled work. Most people who try it end up with a ceiling that is worse than the Artex they started with.
The tools, the mix, the timing, the angle of the float, knowing when to come back for a second pass and when to leave it alone: all of that takes years of practice. Between us, we have well over 60 years of combined experience in the building trade. Ceiling plastering is not the place to learn on your own kitchen.
If you want a flat, smooth ceiling that looks right and lasts, get a plasterer in.
Frequently Asked Questions
Can an Artex ceiling be skimmed rather than replaced? Yes. In the vast majority of homes across South Yorkshire, Artex ceilings can be skimmed over with finishing plaster to give a smooth, flat surface. The surface needs to be sound and properly primed first. If the Artex is flaking or heavily painted over, we assess it before starting. Replacing the ceiling with new plasterboard is sometimes the better option, but skimming is usually quicker and just as effective when the existing surface is in good condition.
Does the Artex in my kitchen need to be tested for asbestos before skimming? If your home was built or the ceiling applied before the mid-1980s, it is worth being cautious. Chrysotile asbestos was used in some Artex products up until around 1984. Skimming over intact Artex does not disturb it, but sanding or aggressively abrading it would. If you are uncertain about the age of your ceiling, we can advise you before any work starts.
Should I get the ceiling plastered before or after the new kitchen is fitted? Always before. Plastering is wet, dusty work and you do not want it happening over new units, worktops or appliances. The correct order is: strip out, first-fix trades, plastering, allow to dry, then fit the kitchen. Doing it the other way round risks damaging a new kitchen and makes the plasterer's job harder.
Do I need to move out while the ceiling is being plastered? Not usually. A kitchen ceiling is a contained job. There will be dust and the room will be out of use for a day or two, but it is not the kind of disruption that requires you to leave the house. We tidy up as we go and leave the space as clean as we found it.
Get in Touch
If you have got an Artex ceiling in your kitchen and you are planning a renovation in Barnsley, Sheffield or anywhere across South Yorkshire, we would be happy to take a look and give you a free, no-obligation quote. We quote every job individually once we have seen what is there. No call centres, no salespeople: just Paul and Malcolm, who will turn up, have a look and tell you straight what the job involves.
Visit our website to find out more about everything we do: P&M Home Improvements.